看了幾天官方文件,
實作簡單的動畫,比較有趣跟成就感
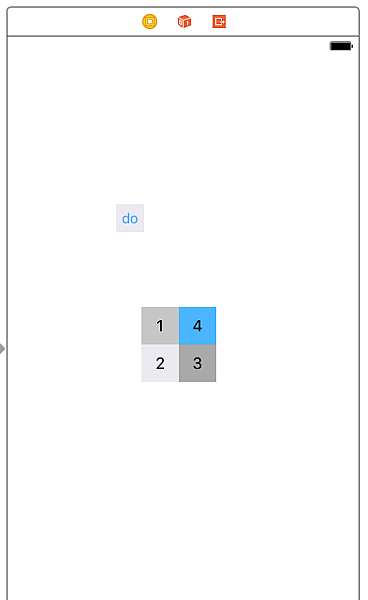
拉好畫面之後,也要把該有的元件連到controller
畫面:
程式碼:
@IBOutlet weak var one: UILabel!
@IBOutlet weak var two: UILabel!
@IBOutlet weak var three: UILabel!
@IBOutlet weak var four: UILabel!
override func viewDidLoad() {
// super.viewDidLoad()
// Do any additional setup after loading the view, typically from a nib.
super.viewDidLoad()
self.one.transform = CGAffineTransform(translationX: 0, y: -300)
self.two.transform = CGAffineTransform(translationX: 0, y: -364)
self.three.transform = CGAffineTransform(translationX: 0, y: 300)
self.four.transform = CGAffineTransform(translationX: 0, y: 364)
}
override func viewDidAppear(_ animated: Bool) {
super.viewDidAppear(animated)
//動畫,分成兩個區塊是因為有快有慢,差別在於delay多久再發動,usingSpringWithDamping是彈跳的反作用力,越小越劇烈
UIView.animate(withDuration: 0.9, delay: 0, usingSpringWithDamping: 0.5, initialSpringVelocity: 0.5, animations: {
//跑回那個物件原來的點
let translate = CGAffineTransform(translationX: 0, y: 0)
self.two.transform = translate
self.three.transform = translate
}, completion: nil)
UIView.animate(withDuration: 0.9, delay: 0.1, usingSpringWithDamping: 0.5, initialSpringVelocity: 0.5, animations: {
let translate = CGAffineTransform(translationX: 0, y: 0)
self.one.transform = translate
self.four.transform = translate
}, completion: nil)
}
@IBAction func doing(_ sender: UIButton) {
viewDidLoad()
viewDidAppear(true)
}
參考原文:
http://toyo0103.blogspot.tw/2015/03/swift_11.html
我還用相同原理刻了順時鐘旋轉!
明天打算來整理整理然後做逆時針![]()
0 意見:
張貼留言